





Every playable guitar neck has a tiny amount of bend in it, and that bend is not a flaw. It is called relief. This is the slight forward curve in the neck that gives your strings room to vibrate without smacking into the frets. Get it right, and the guitar plays clean and easy. Get it wrong, and you fight buzz, high action, or notes that choke out.
The good news is that measuring relief takes about five minutes and a couple of cheap tools. You do not need a tech, and you do not need to guess. Once you know how to measure guitar neck relief accurately, you can spot a problem before it ruins a gig and decide whether the neck actually needs an adjustment or just your patience.
Let's walk through the whole process, from what you need to what the numbers should look like.
What You Are Actually Measuring
Relief is the gap between your strings and the frets in the middle of the neck when the string is held down at both ends. Picture pulling a guitar string tight and turning it into a straight edge. Now compare that straight line to the curve of the fretboard underneath it. If there is a small gap in the middle, you have relief. If the string lies flat on the frets, the neck is dead straight. If the middle of the neck rises up to meet the string, you have backbow, which is the neck curving the wrong way, toward the strings.
The truss rod controls this curve. That is the adjustable steel rod running inside the neck, and turning its nut either adds or removes bend. But before you touch the truss rod, you have to know where you stand. Measuring first, adjusting second, is the whole game.
The Tools You Need
You need three things, and none of them are expensive.
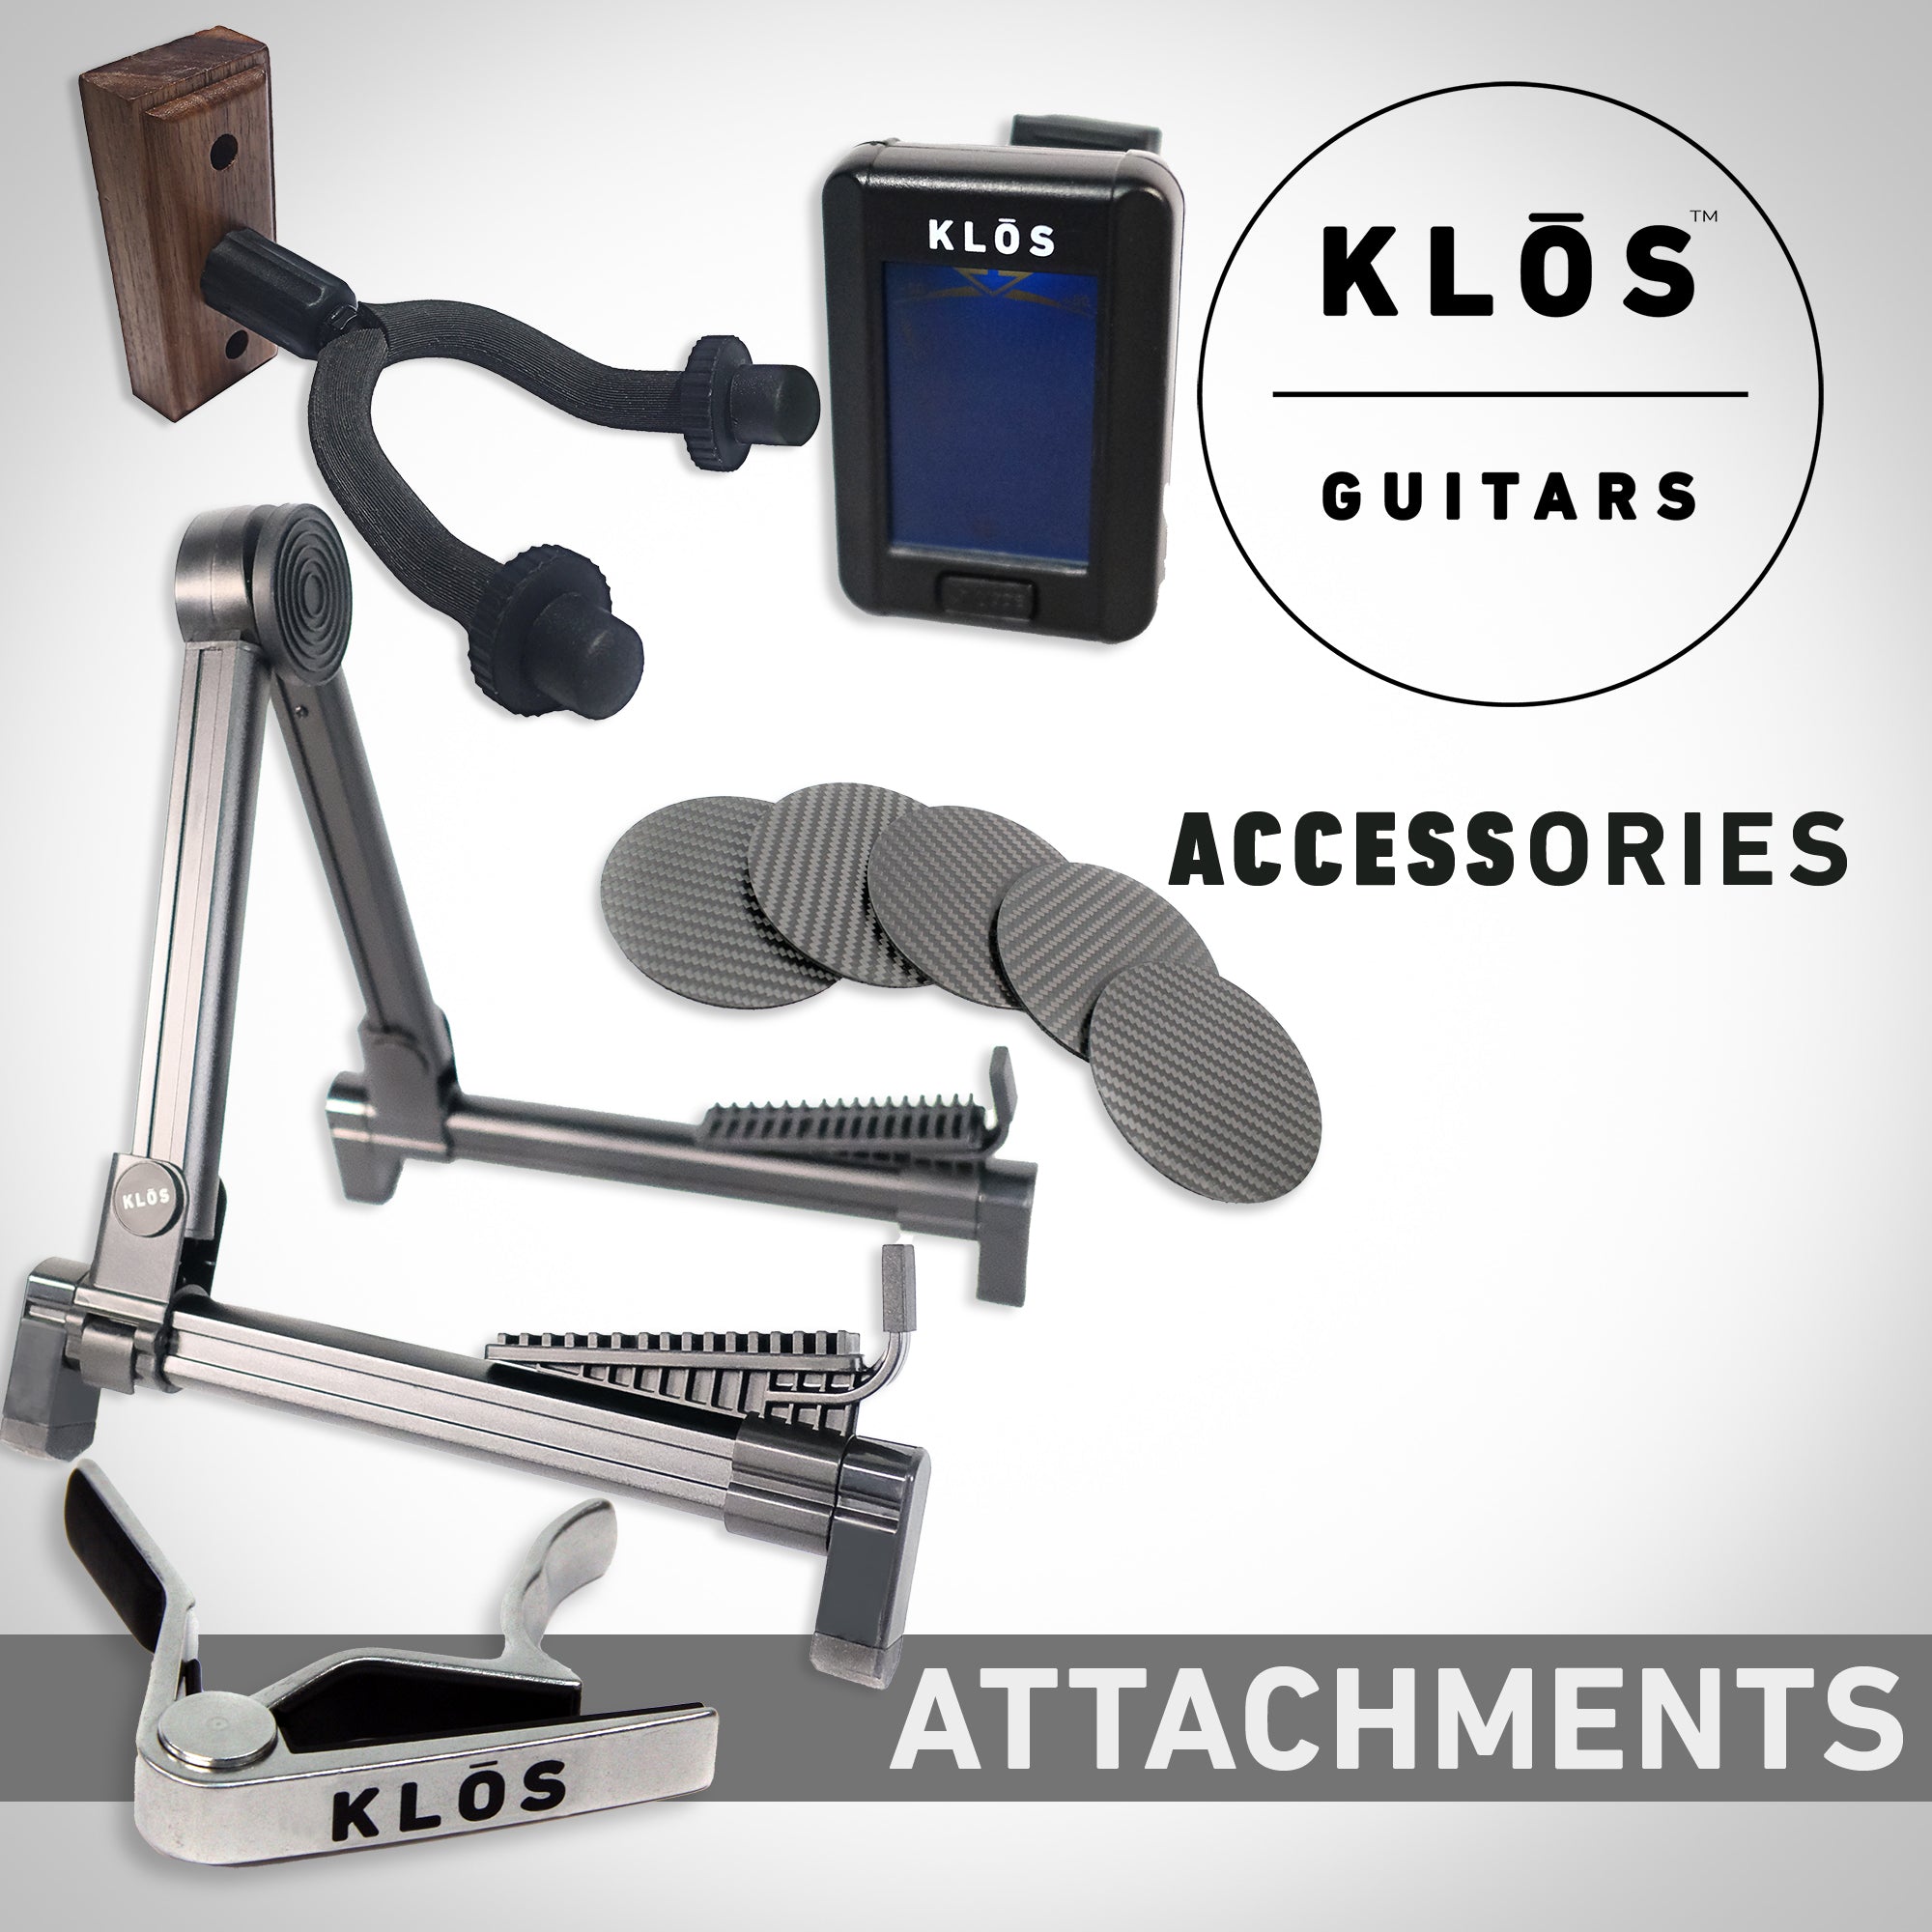
A capo, to clamp the string down at the first fret. Your finger works in a pinch, but a capo frees up both hands.
A feeler gauge, which is a fanned-out set of thin metal blades, each stamped with a precise thickness in thousandths of an inch. Guitar techs use these to measure tiny gaps, and a full set costs about as much as a pack of strings.
And your fretting hand, to hold the string down at the far end of the neck. That is it.

Step by Step: Measuring the Gap
Tune the guitar to pitch first. String tension pulls on the neck, so a slack guitar reads differently than one tuned up. Always measure under real playing tension.
- Clamp a capo at the first fret. This holds the low E string down at the very start of the neck so you have a fixed anchor point.
- Press the same string down at the last fret. Use your fretting hand, or a helper, or a second capo. Now the string is pinned at both ends of the fretboard and acts as a straight reference line across all the frets in between.
- Look at the eighth fret. With the string held at both ends, the biggest gap between the string and the top of the frets usually lands right around the middle of the neck, near the seventh, eighth, or ninth fret. The eighth fret is the standard checkpoint.
- Slide a feeler gauge into that gap. Start thin and work up. You want the blade that just barely slips between the bottom of the string and the top of the eighth fret without lifting the string at all. When you find the blade that fills the gap snugly with the faintest drag, read the number on it. That number is your relief.
Do this on the low E string and again on the high E string. The two sides of the neck can carry slightly different amounts of relief, and checking both gives you the full picture.
What the Numbers Should Be
Most electric guitars play well with relief somewhere between .008 and .012 of an inch at the eighth fret. To anchor that to something you can picture, .010 of an inch is about the thickness of three sheets of printer paper stacked together. It is a small gap, but on a fretboard it makes the difference between smooth action and constant buzz.
Players who dig in hard or tune low often want a hair more relief, closer to .012 or .015, so the strings have extra swing room. Light players with a delicate touch can run flatter, down near .006, and get faster action without buzz. Acoustic guitars generally want a touch more relief than electrics because the strings are heavier and move more.
None of these are hard laws. They are starting points. The real test is how the guitar plays and whether it buzzes.
When to Adjust and When to Leave It Alone
If your measurement lands in the normal range and the guitar plays clean, do not touch anything. A neck that measures well does not need help, and turning the truss rod for no reason invites problems.
Reach for the truss rod when the numbers or the symptoms tell you to. Too much gap, say .020 or more, and the action feels high, and the guitar is hard to play up the neck. That calls for tightening the rod to pull some relief out. Too little gap, or a dead flat neck that buzzes in the lower frets, means you may need to loosen the rod to let a little relief back in. Make small turns, a quarter turn at a time, then re-measure. Necks move slowly, and over-correcting is easy.

One more thing worth knowing before you go chasing relief every few weeks: how much your neck moves on its own depends heavily on what it is made of. Wood necks react to the seasons because wood takes on and gives off moisture. Humidity climbs in summer, and the neck can pick up relief. Winter air dries out, and the neck can flatten or backbow. That is why so many players re-check relief twice a year and reach for the truss rod when the weather turns.
A carbon fiber neck sidesteps most of that. Carbon fiber does not absorb moisture, so it holds its shape as the seasons change and keeps the relief you set. The KLŌS F-Series Electric Neck bolts onto a standard Stratocaster, Telecaster, or Jazzmaster body and stays dimensionally stable, which means the number you measure in July is very close to the number you measure in January. You still measure relief the same way. You do it a lot less often.
Making It a Habit
Measuring relief is one of those skills that feels fussy the first time and automatic by the third. Keep a capo and a feeler gauge in your case, check the eighth fret gap whenever the guitar starts feeling off, and you will always know whether the neck is the problem or whether it is time to look somewhere else. A guitar that plays well starts with a neck that carries the right curve, and now you can measure that curve yourself.


Leave a comment